
.felt ball pillows … a diy project.
today’s tutorial is all about how to create these 2 pillows that we’re using in our little girls nursery
I absolutely love how they turned out, the pink fabric was PERFECT and I’m so glad I didn’t settle for anything else! (I was lucky and found it at Joann’s!) my mom and I got to thinking of a really cute, yet unique way to use hello maypole felt balls – and on top of a pillow was our choice for this project 🙂
I hope you enjoy the tutorials and thanks for reading!!

* pillow 1
supplies needed :
rotary mat and cutter, measuring tape, pillow form, fabric (two different ones, if you want front and back to be different), hello maypole felt balls, and zipper

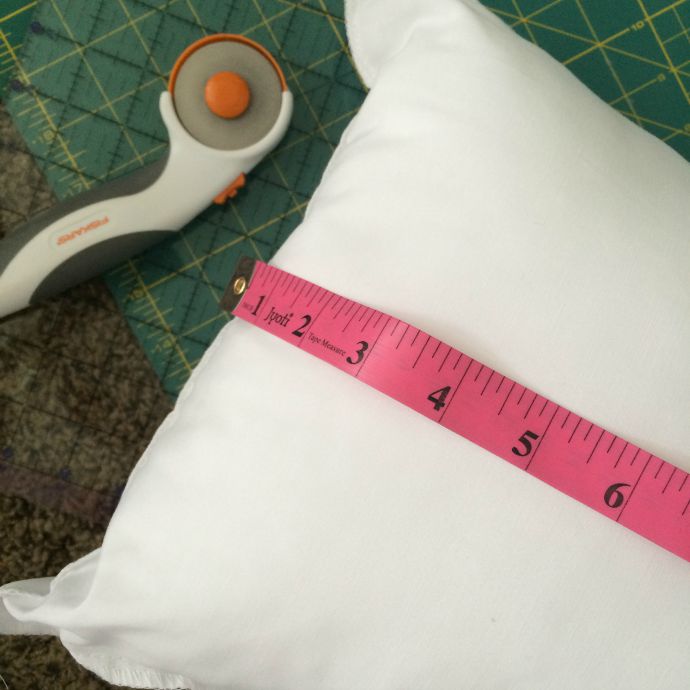
measure out your pillow and add an inch to each side for allowing seams on all sides 🙂
I used a 12X16 pillow but cut 13X17 inch pieces of fabric

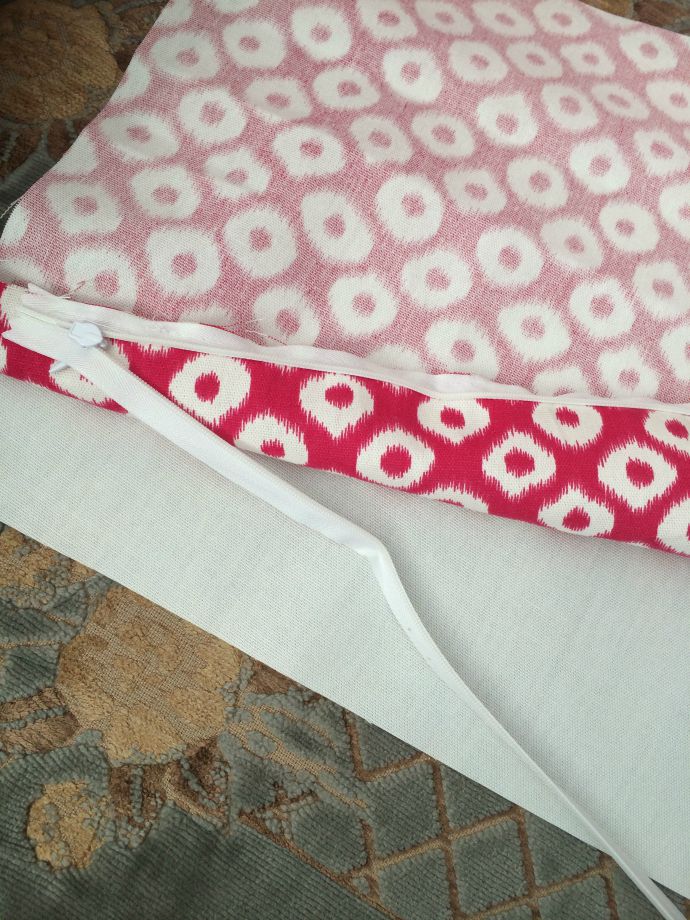
I cut one piece in pink and one piece in white (the white side is for attaching the felt balls) the pink will be the backside of my pillow.
attach your zipper according to the instuctions on the package 🙂
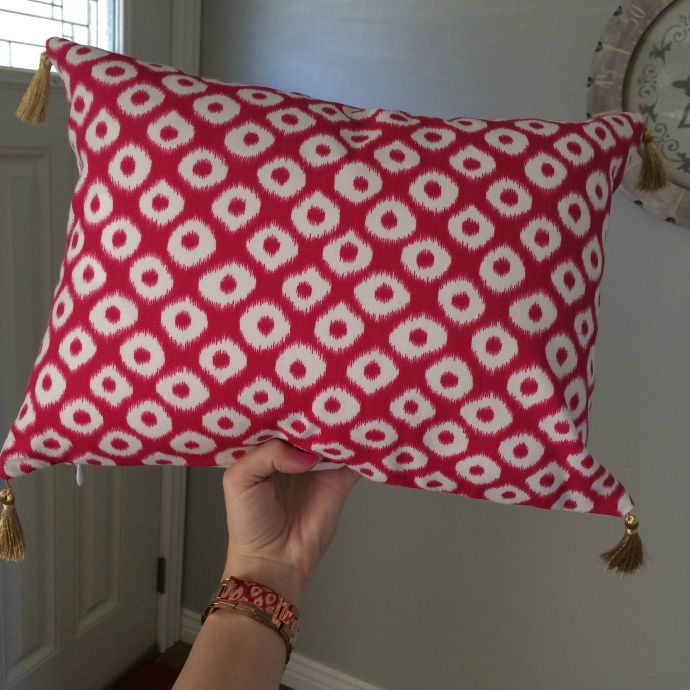
we added gold tassels to the corners, we sewed them up along with doing the pillow – but I do recommend sewing or glueing them in to your pillow with a tiny thread or fabric/hot glue before you stitch, this will ensure they don’t fall out 🙂
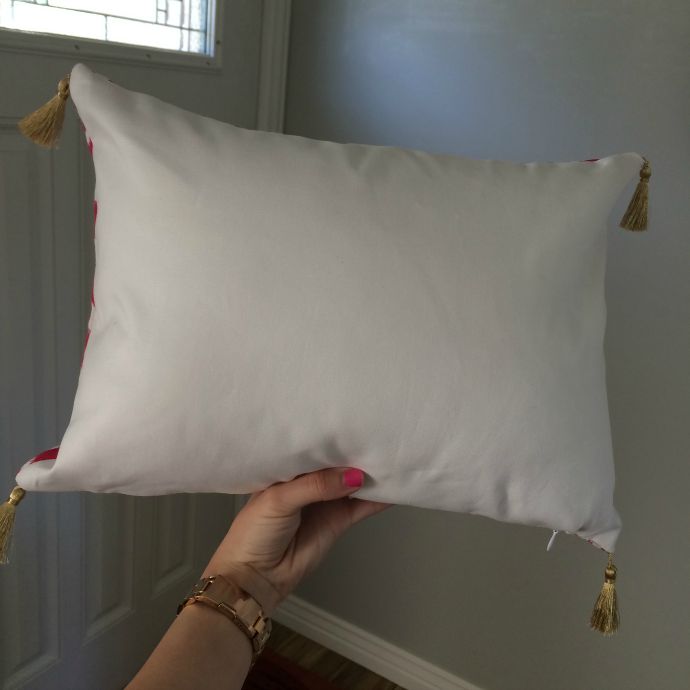
here’s the back
here’s the unfinished front 🙂
play around with creating different designs until you find something that will suit the shape and size of your pillow 🙂 we decided to do a striped effect on one side of the pillow

we measured from the side of the pillow just where we wanted the first row of felt balls to go. the navy color starts about 4 inches in on the left side. I was careful to keep them in a straight line because we used the measuring tape and made a line down the area we were to place the felt balls. I used the navy felt balls as a guide for the remainder of the colors and kept them right next to the original felt ball. the balls were attached using just a tiny bit of hot glue that we stuck to the white side of the fabric and then placed the felt ball right over. *** a key trick to keep the glue from sticking to your pillow inside is to use a piece of printer paper and place entirely inside your pillow so that it is in between your pillow form and the case itself. by doing this you are able to ensure that the glue doesn’t seep onto your actual pillow form while glueing, once I was finished placing all felt balls on the pillow I took the paper out and zipped up my zipper 🙂 it worked perfectly!


* pillow 2
supplies needed :
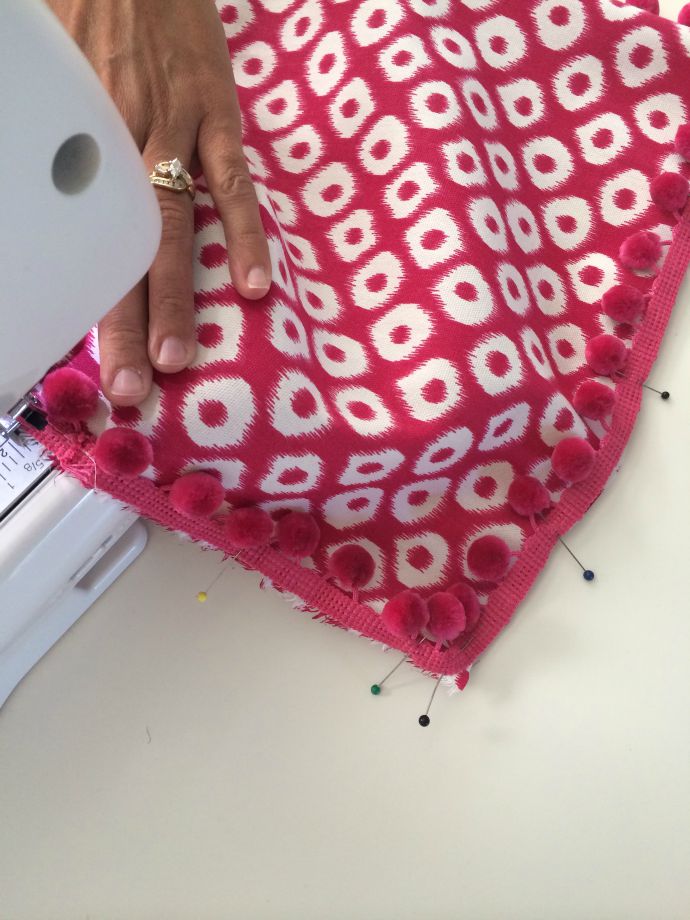
fabric, pillow form, zipper, pom pom ribbon, measuring tape, rotary mat and cutter
cut your fabric into pieces, for this pillow I used a square pillow form
like in the tutorial above – add an extra inch to your fabric on all sides to allow for seams

pin your pom pom trim to the right side of the fabric with the balls facing in
attach your zipper like the instructions on the package state
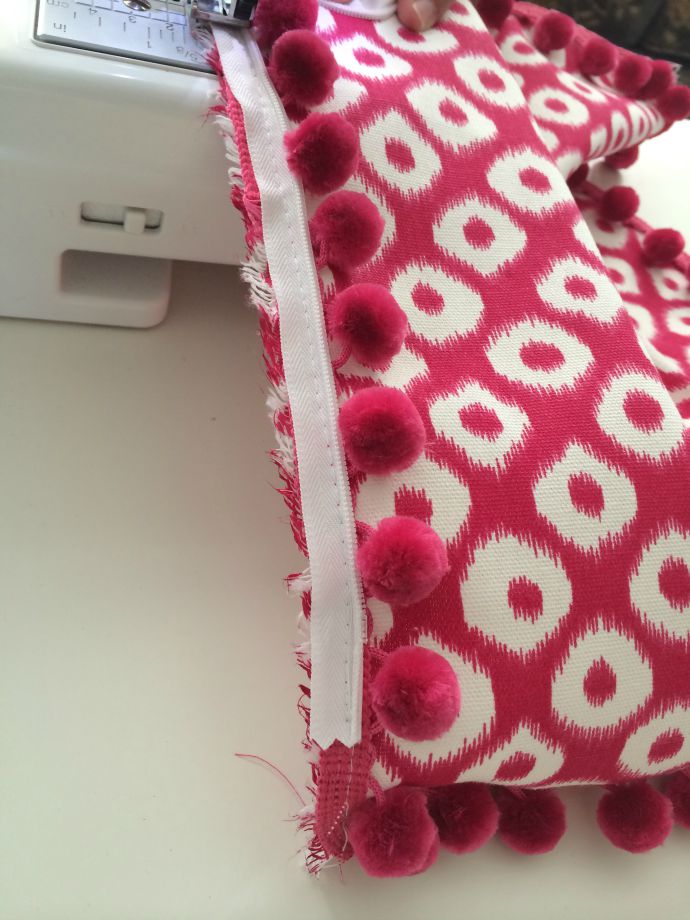
sew both right sides of your fabric together and flip insides out 🙂
here’s the finished pillow!
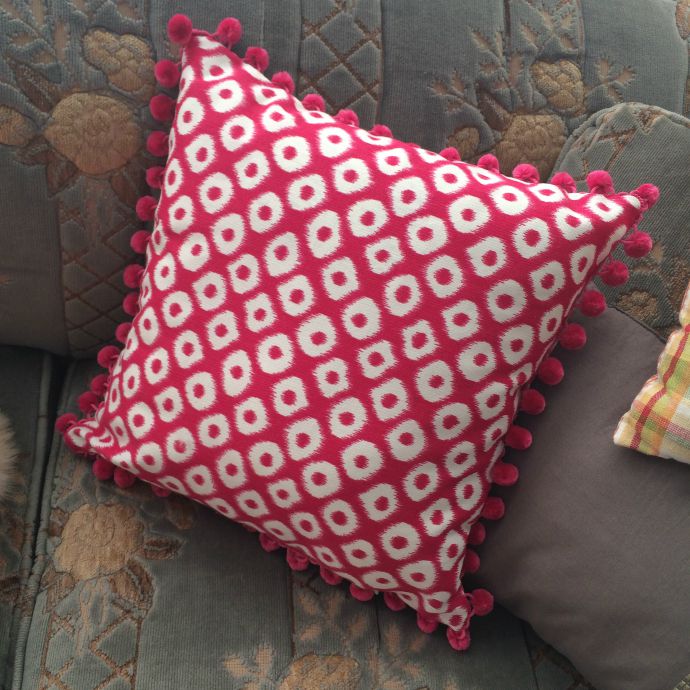
another shot of the first pillow 🙂 whose home is on the chair

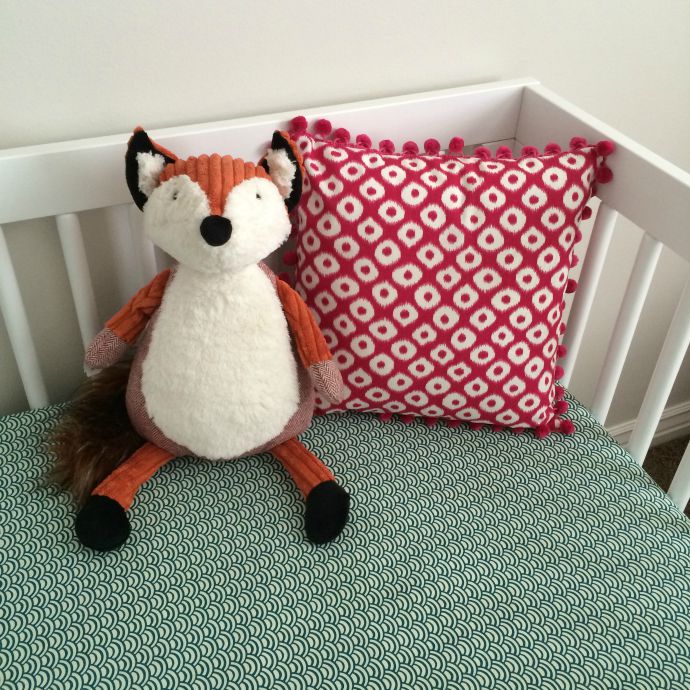
and this cute pillow hangs out in the crib
thank you so much for reading 🙂
have a fantastic week! 🙂 I’m 33 weeks and had my baby shower over the weekend! we’re SO stoked for this sweet girl to come into our lives in just a short while 🙂
